The Markdown Component in IdeaBoard allows you to create structured, formatted text content directly on your whiteboard. Instead of using plain text blocks, you can write in Markdown to quickly add headings, lists, links, bold text, code blocks, and more.
This makes it ideal for documentation, structured notes, meeting summaries, technical content, and long-form writing—without leaving your brainstorming space.
What is the Markdown Component?
The Markdown Component is a rich text container that supports Markdown syntax. You can write using simple formatting commands (like # for headings or - for bullet lists), and the content is automatically rendered into clean, formatted text.
You can also switch to Markdown edit mode to directly modify the raw Markdown syntax whenever needed.
How to Add the Markdown Pro Component?
In the IdeaBoard editor, click the Add icon in the top-left corner. Search for Markdown Pro and drag and drop the component onto the canvas.
Editing the Markdown component: Enable the Interact with Component option to start editing the content. Once enabled, you can type directly inside the Markdown Pro component. Type “/” to access formatting options, and switch to the WYSIWYG editor using the Edit icon within the component.
Other options are detailed below in this order:
- Generate Markdown content with AI
- Switch Between Markdown Editor and WYSIWYG
- Auto-Resize Based on Content
- Font Settings in Markdown Pro
- Export options
- Using focus mode
Generate Markdown content with AI: You can generate Markdown content using AI by clicking the AI icon in the quick toolbar. Enter your prompt, and IdeaBoard will automatically create content in Markdown syntax based on your input. You can further modify the content or convert it into other components using AI.

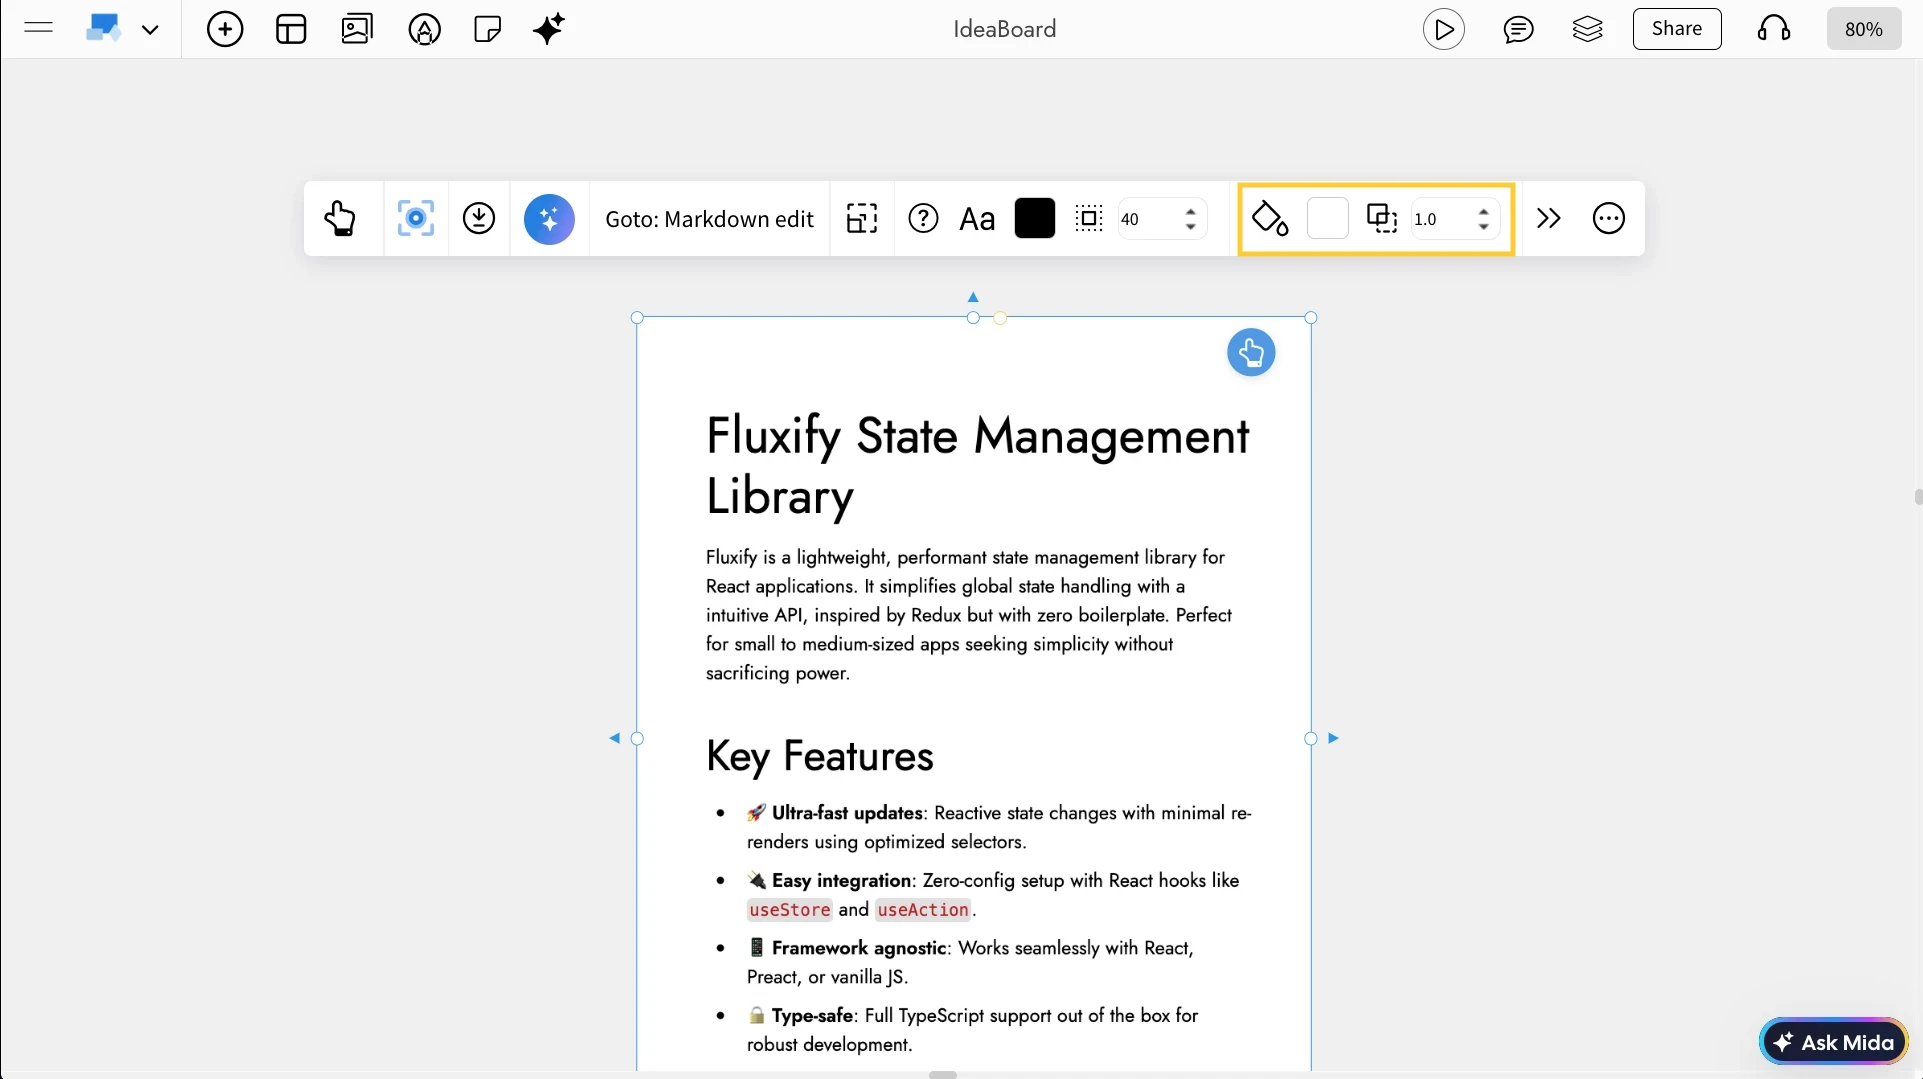
Adjust Background and Opacity: Use the quick toolbar options to change the background color and opacity of the Markdown Pro component.
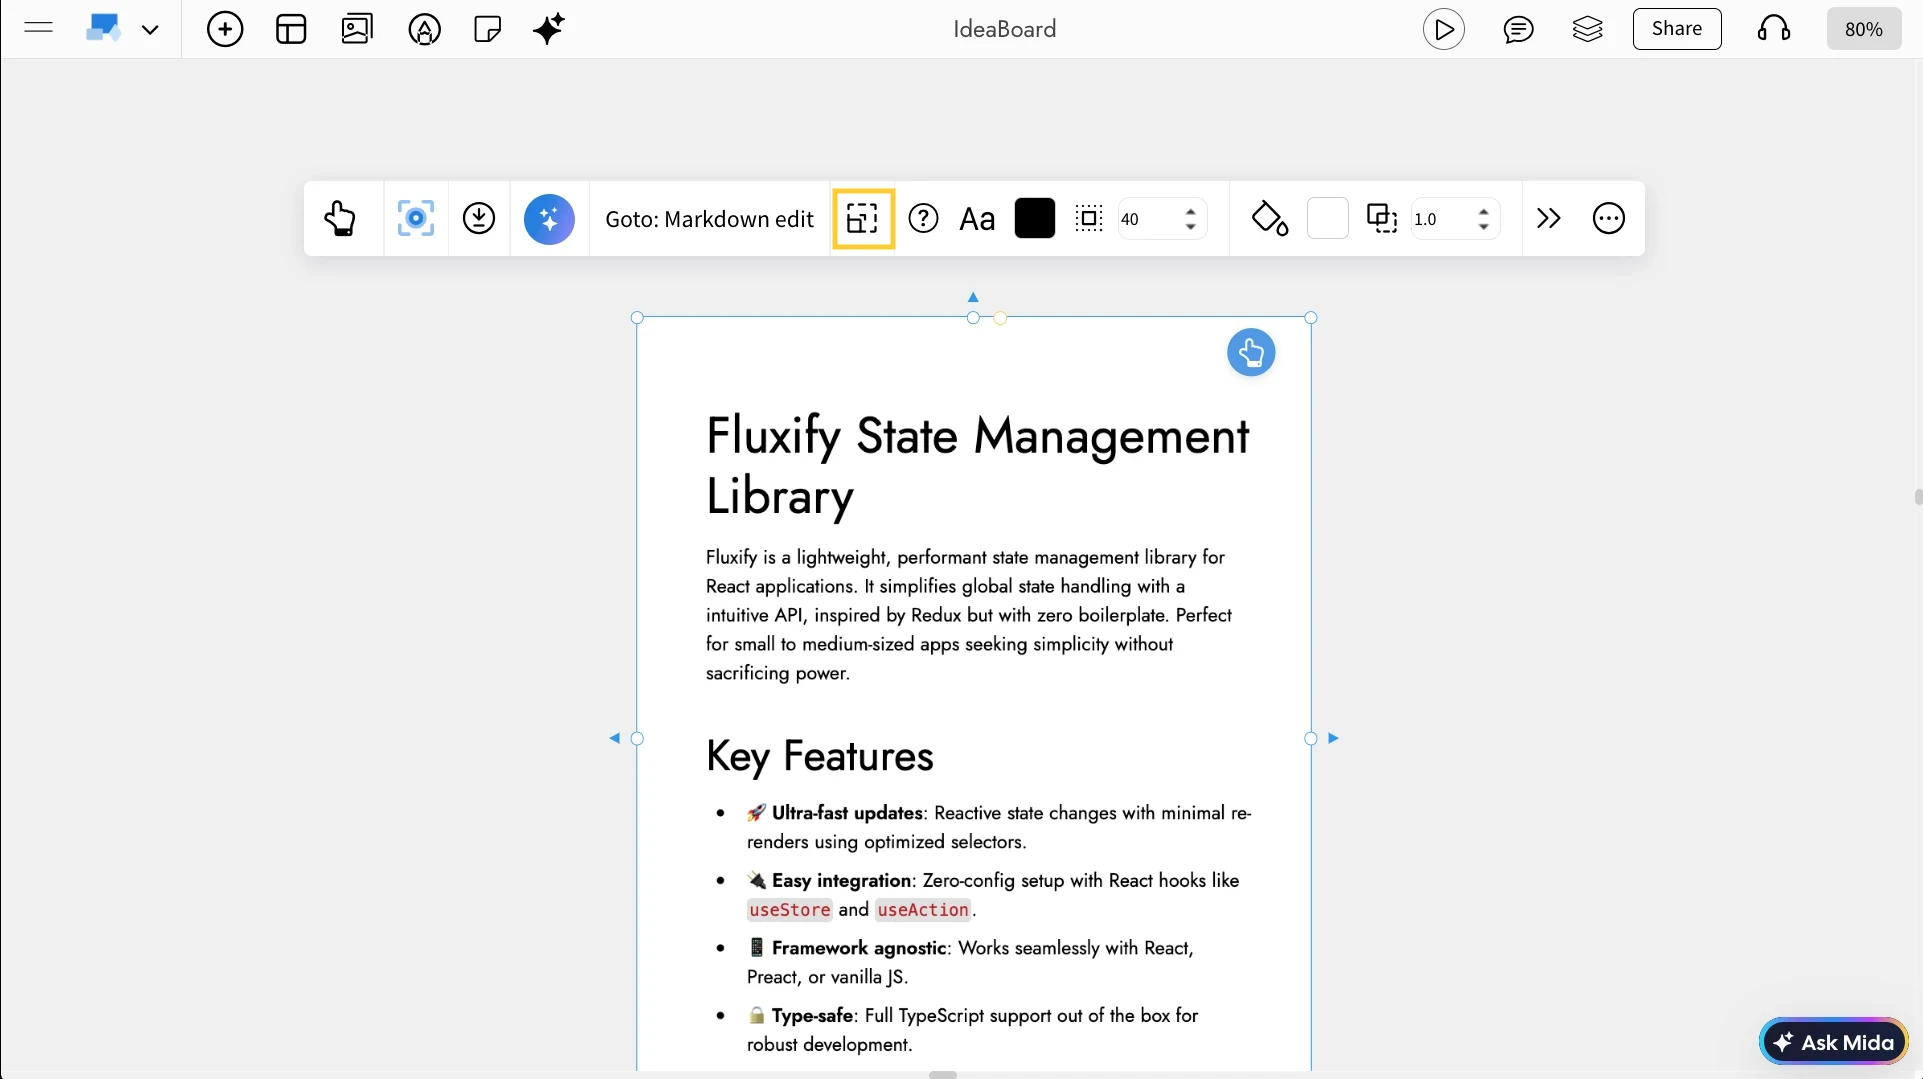
Auto-Resize Based on Content: Enable Auto Height from the quick toolbar to automatically adjust the height of the component based on the content inside it.
Switch Between Markdown Editor and WYSIWYG: Use the toggle in the quick toolbar to switch between the Markdown editor and the WYSIWYG editor, allowing you to edit either with raw Markdown or through a visual editor.
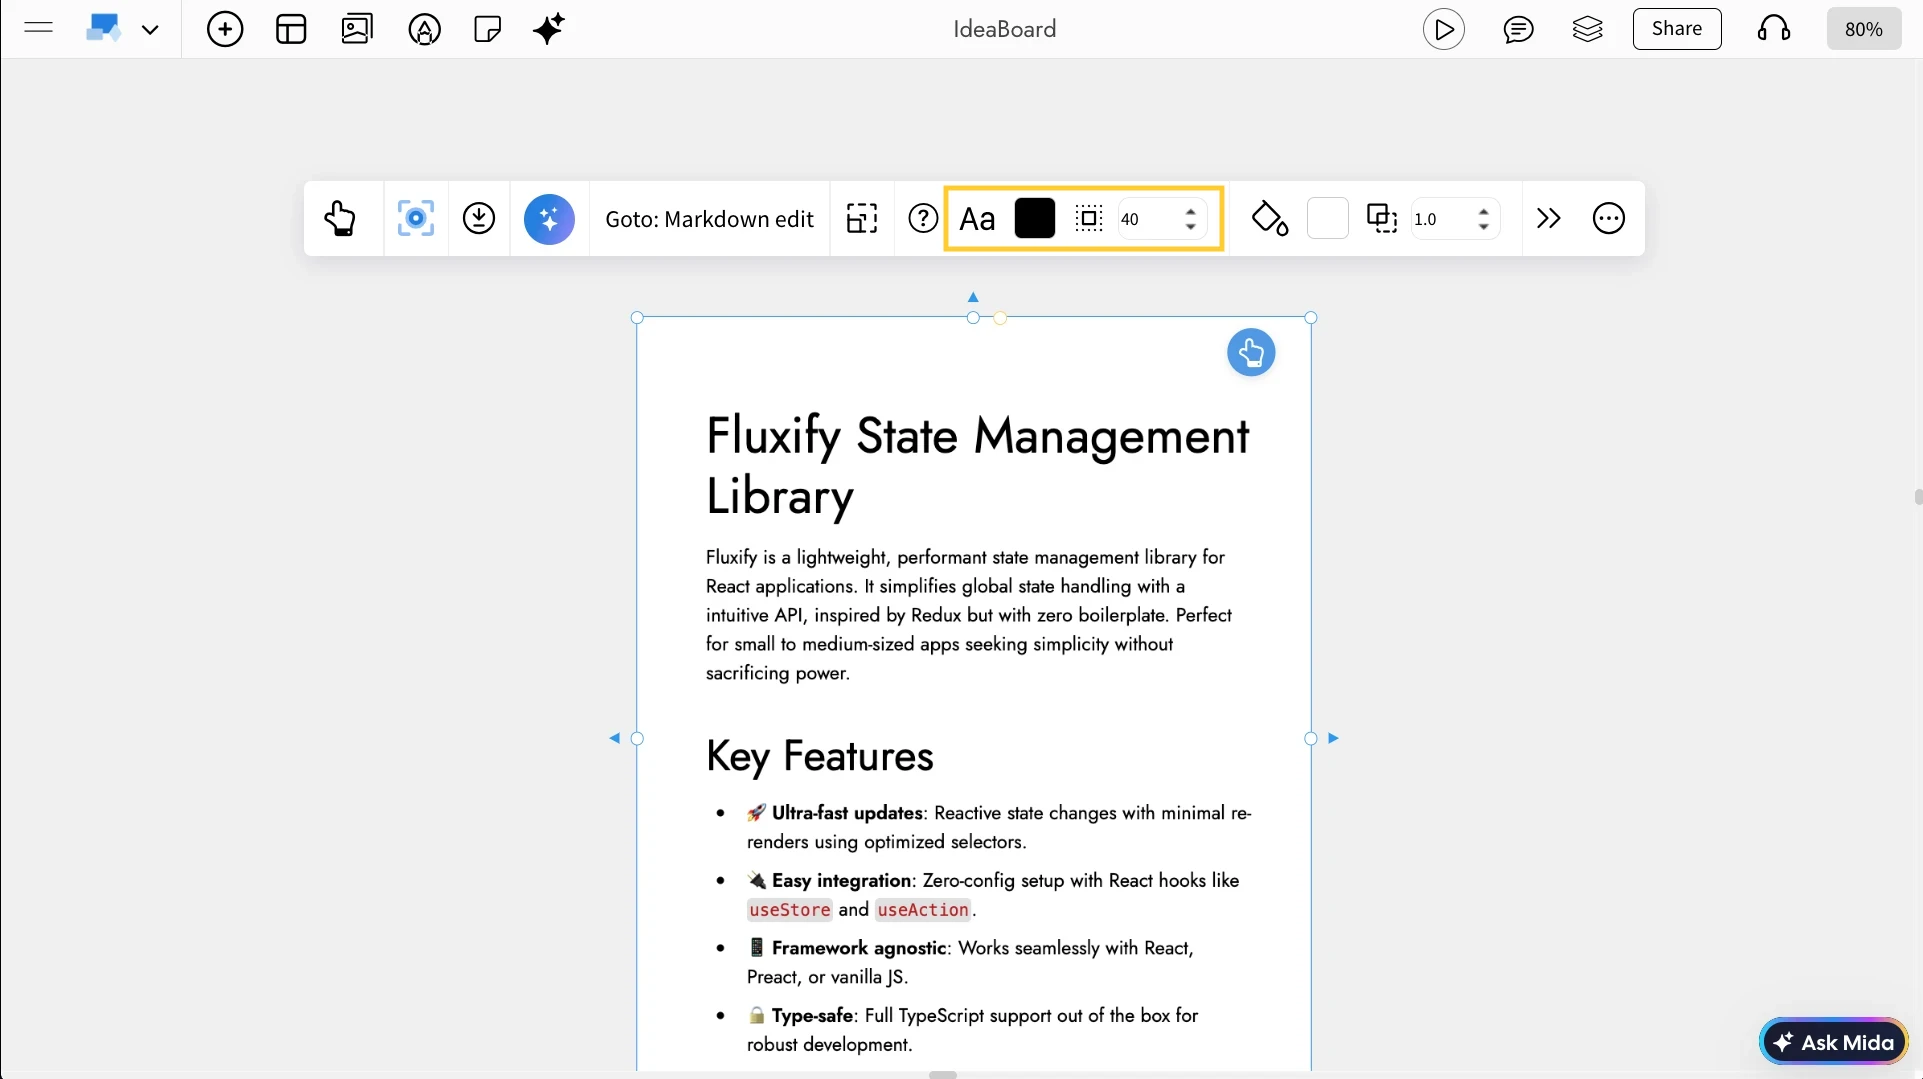
Font Settings in Markdown Pro: Using the font settings in the quick toolbar, you can customize the font color, font style, and padding used in the Markdown Pro component.
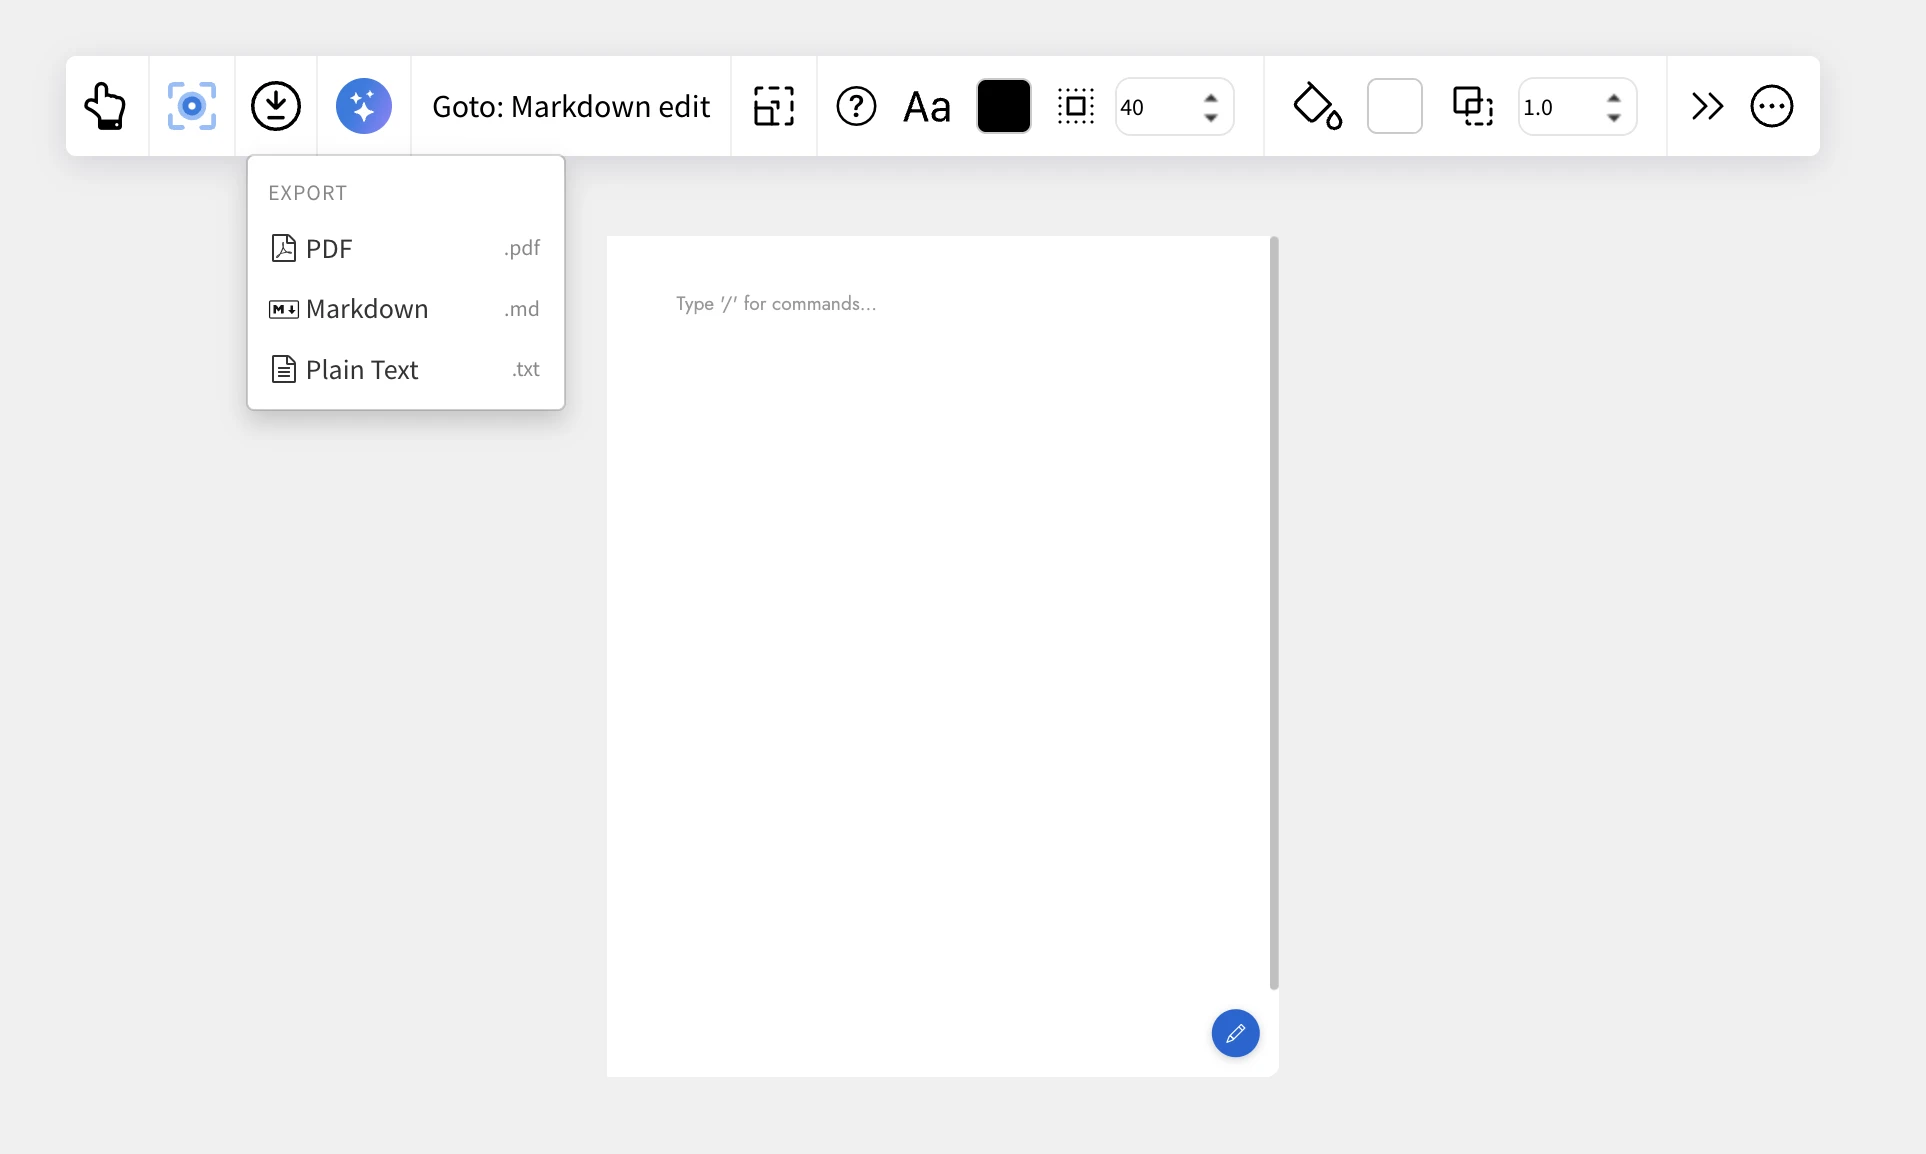
Export Options: You can export the content in PDF, markdown (.md ) or plain text format.
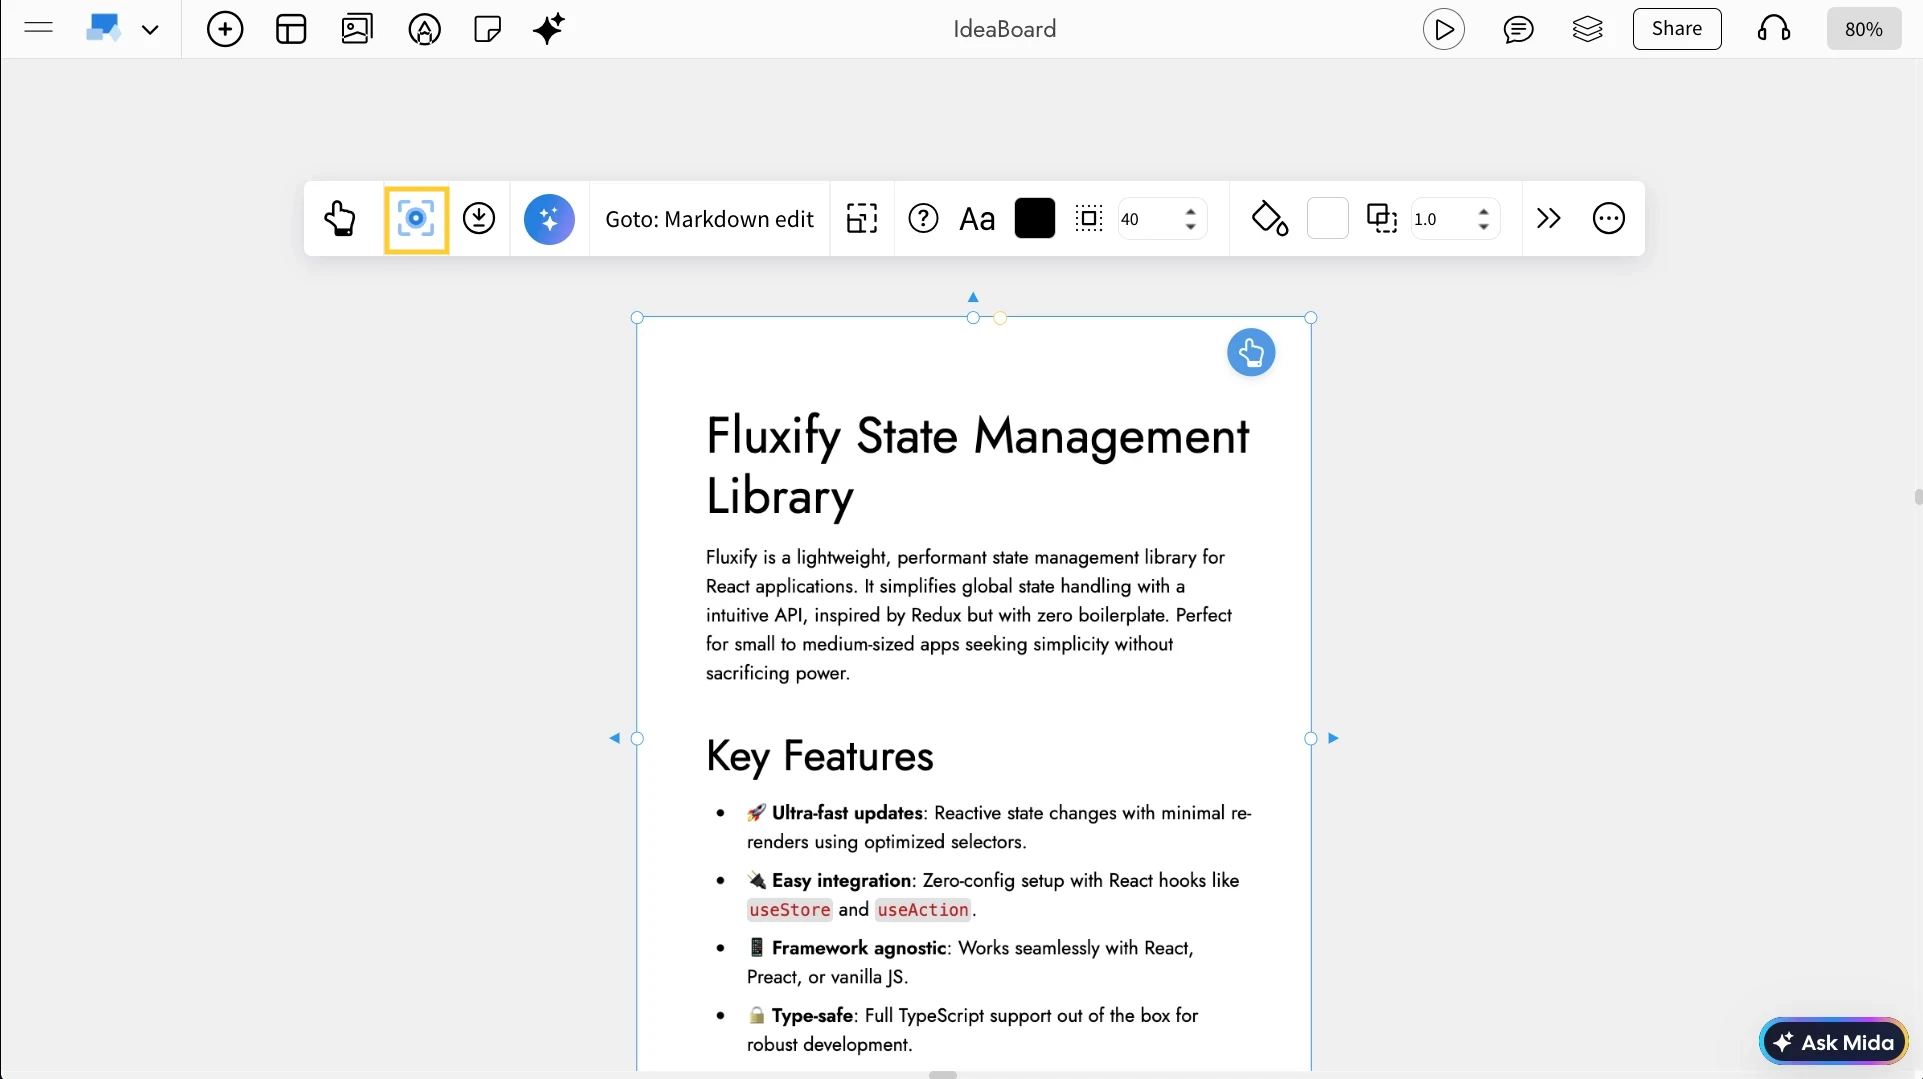
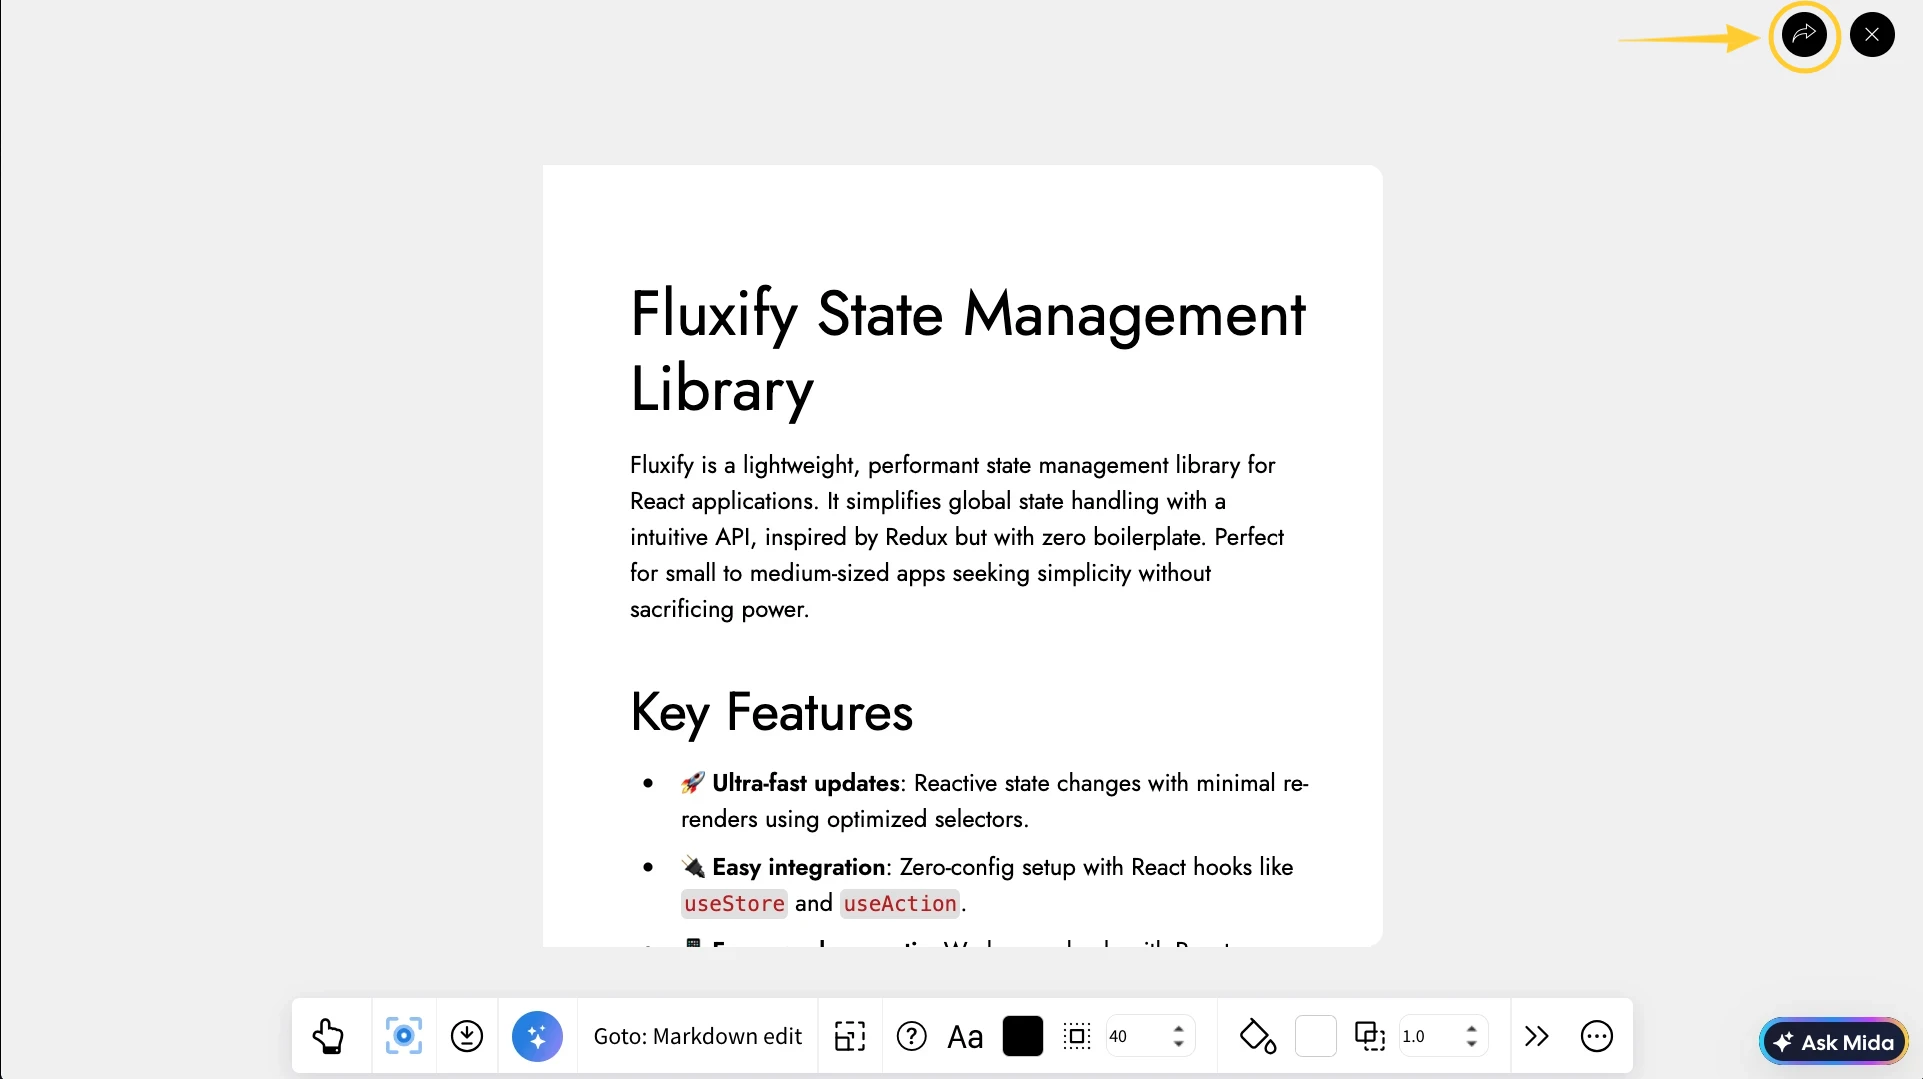
Use Distraction-Free Focus Mode: Focus Mode hides all other components and highlights only the Markdown Pro component. Click the Focus icon in the quick toolbar to enable it, and click the Close icon at the top-right to exit Focus Mode.
Share the Markdown Pro Component: In Focus Mode, click the Share icon at the top-right next to the Close icon to copy a unique link for the Markdown Pro component and share it directly with your team.
Use Cases
- Product Requirement Documents (PRDs): Write structured feature descriptions and acceptance criteria.
- Meeting notes: Capture action items and summaries in a clean format.
- Technical documentation: Add API notes, code snippets, or architecture explanations.
- Workshop summaries: Document outcomes directly beside brainstormed ideas.
- Knowledge boards: Create mini internal documentation pages within IdeaBoard.


