Annotations in wireframes are essential for communicating design intent. They add clarity by explaining the purpose of components, making it easier for clients, teammates, developers or stakeholders to understand your design decisions.
Default annotation components
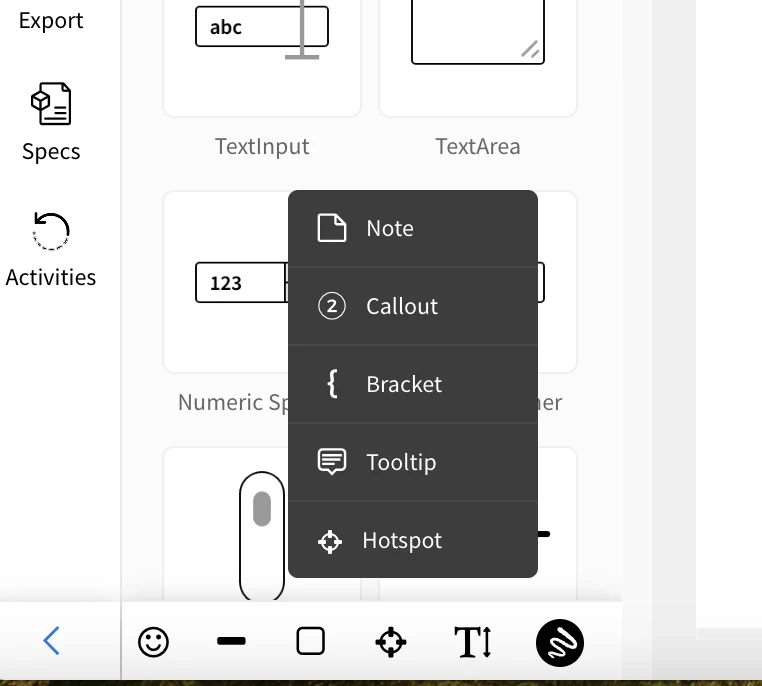
By default, few components are marked as annotation components - note component, bracket component, and callout component. These are available from the shortcut menu on the bottom bar on the left.
Custom Annotations
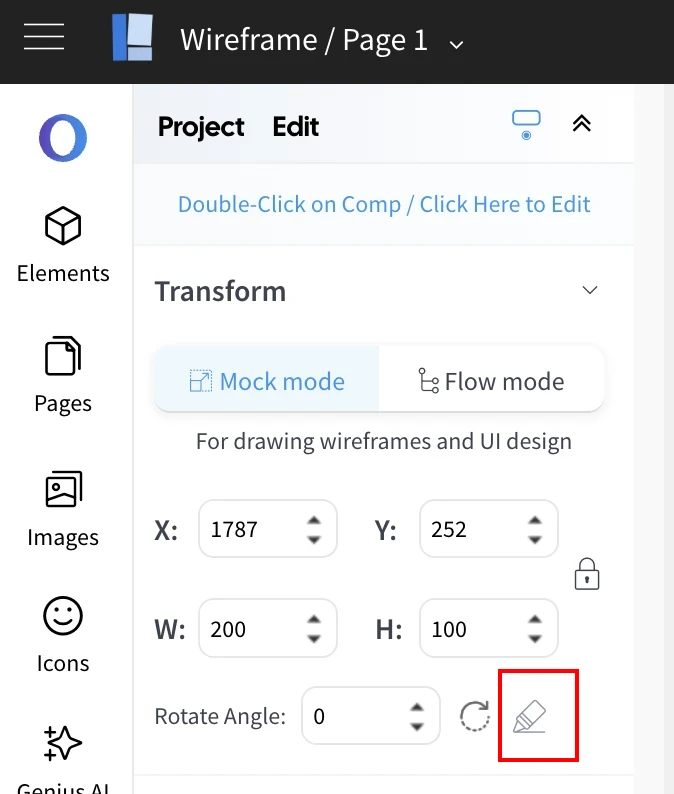
You can make any component (text, label, shapes, etc) as an annotation by marking them as annotation in the component settings. Just drag and drop any component and then on the component settings, click on the 'annotate' icon in the Transform section to mark it as an annotation.
Adding annotation to your wireframe:
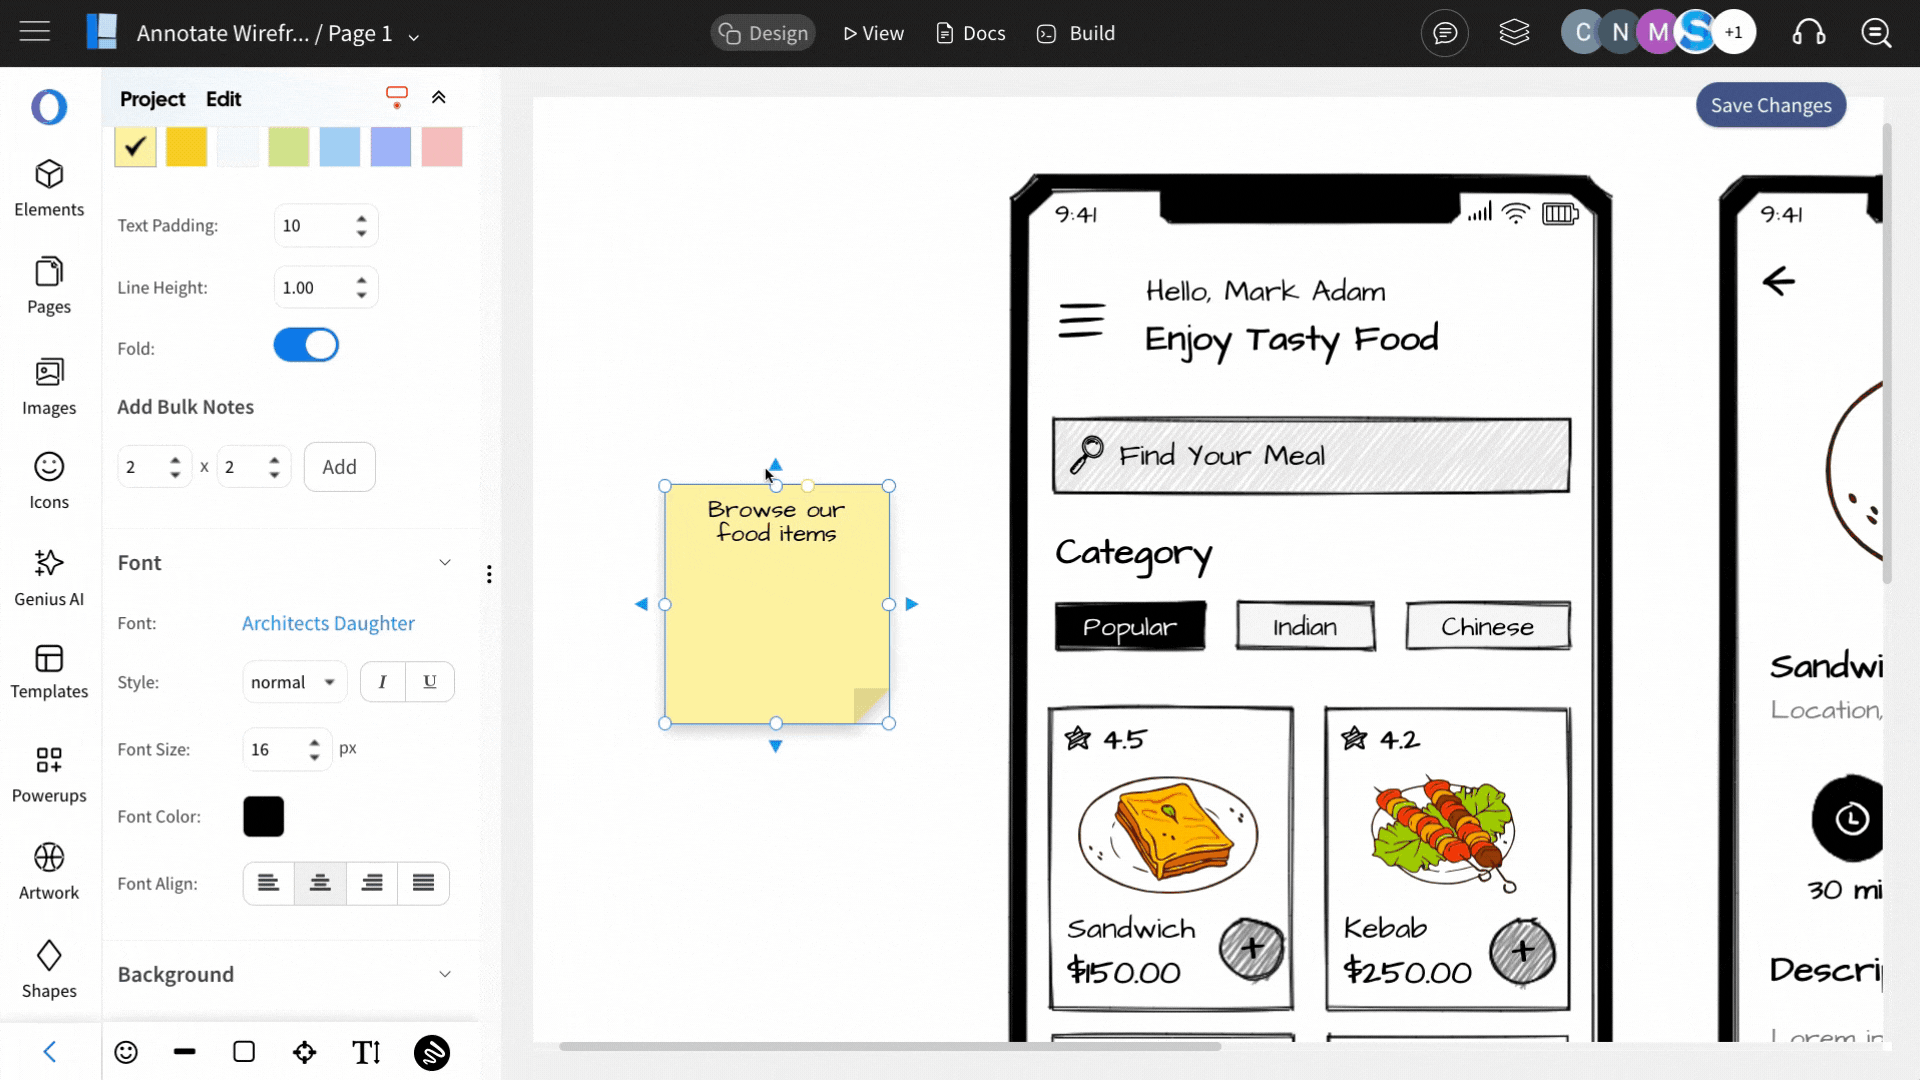
1Drag and drop one of the default annotation component or any other component onto the wireframing editor.
In this example below, we are adding a note component (which is by default an annotation component).
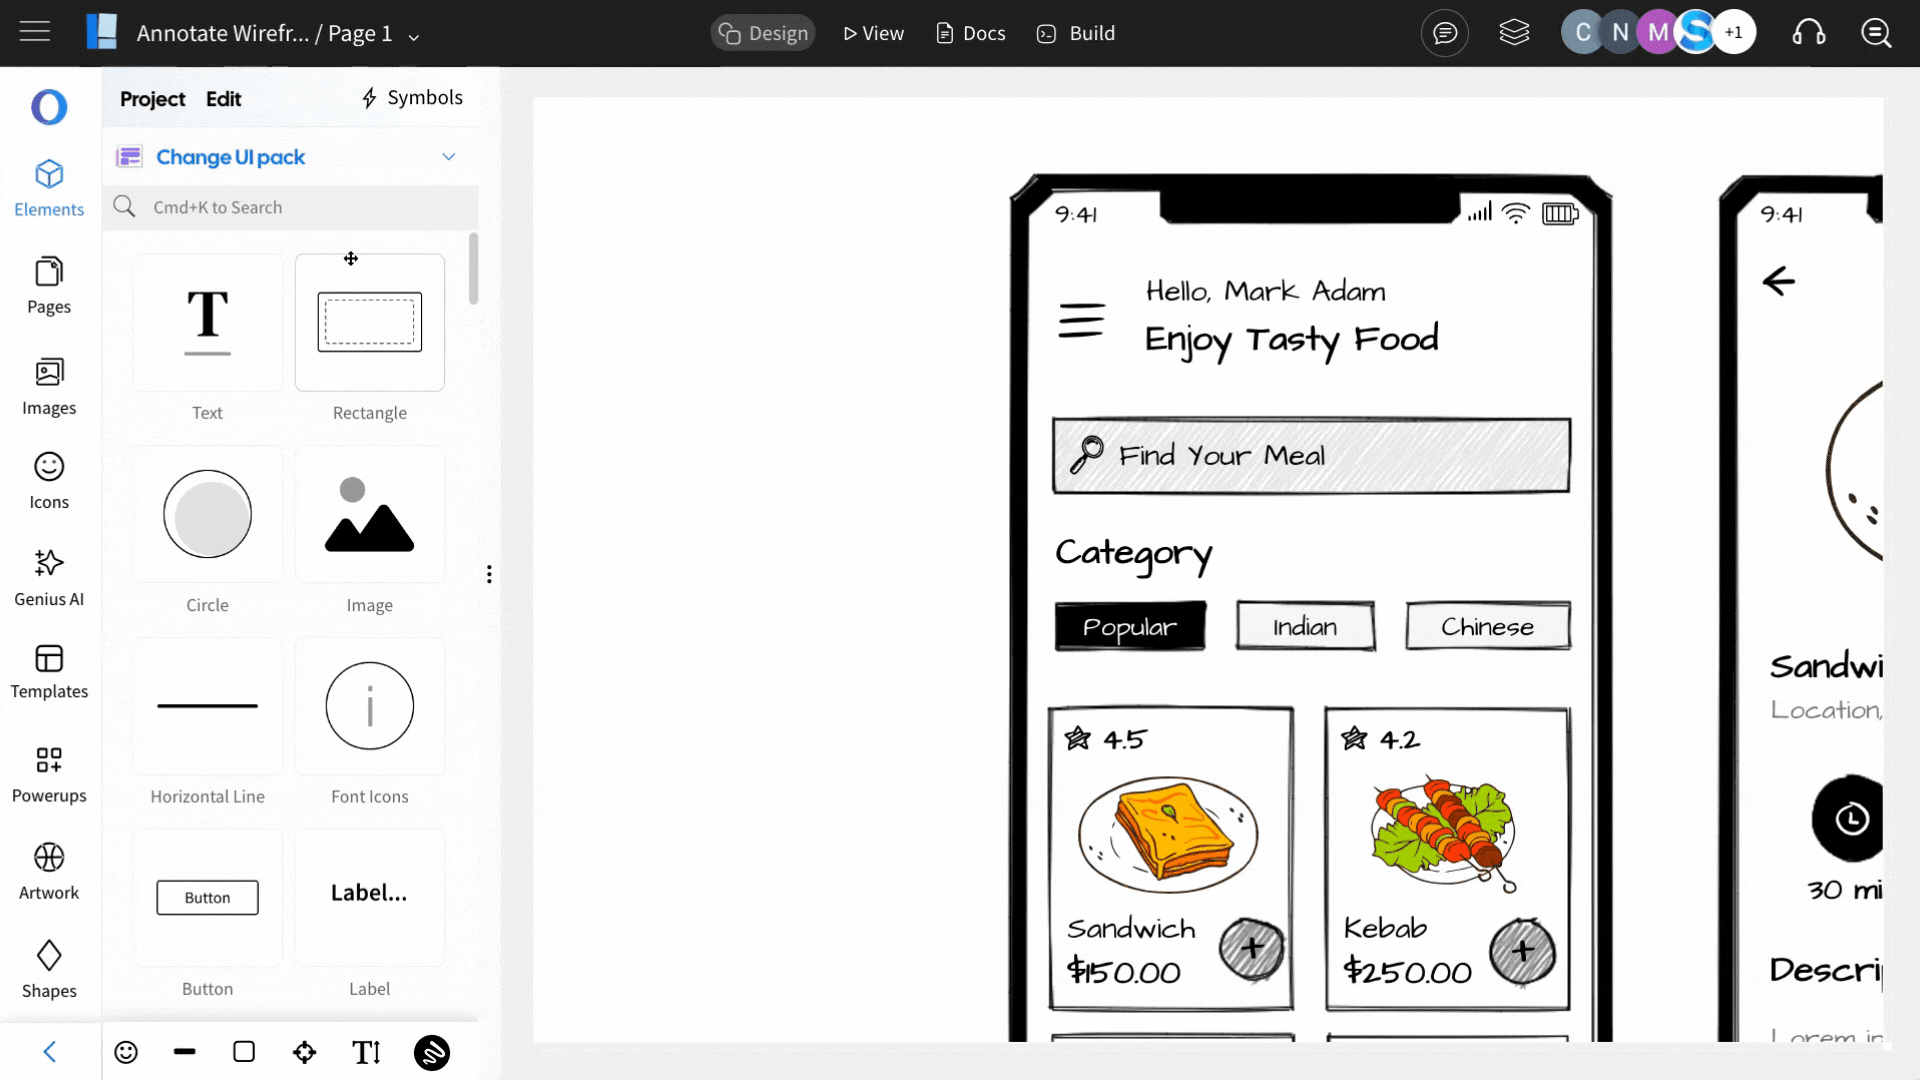
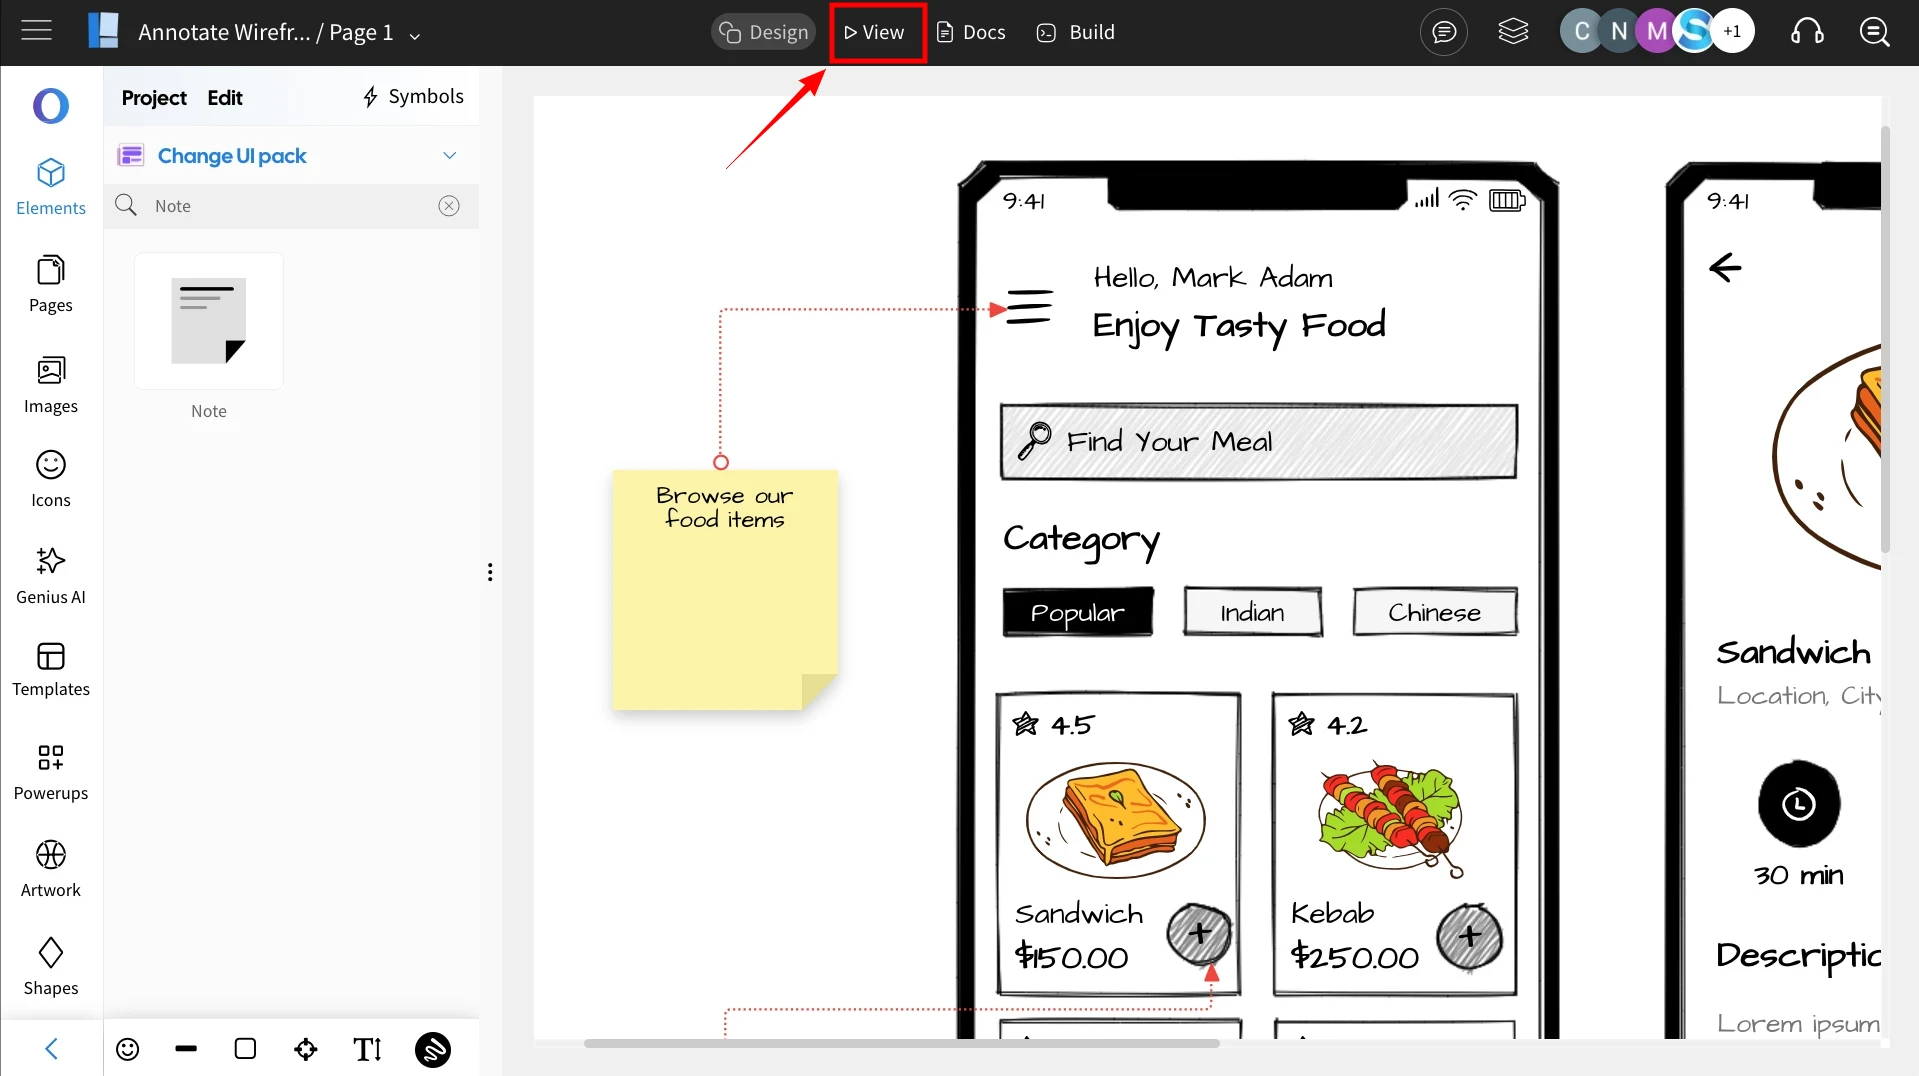
2After placing the annotation on the canvas, customize it using the settings panel in the sidebar, and use arrows to connect it to the respective components.
3When you’re done, click on ‘View’ to preview how the annotations will appear for reviewers.
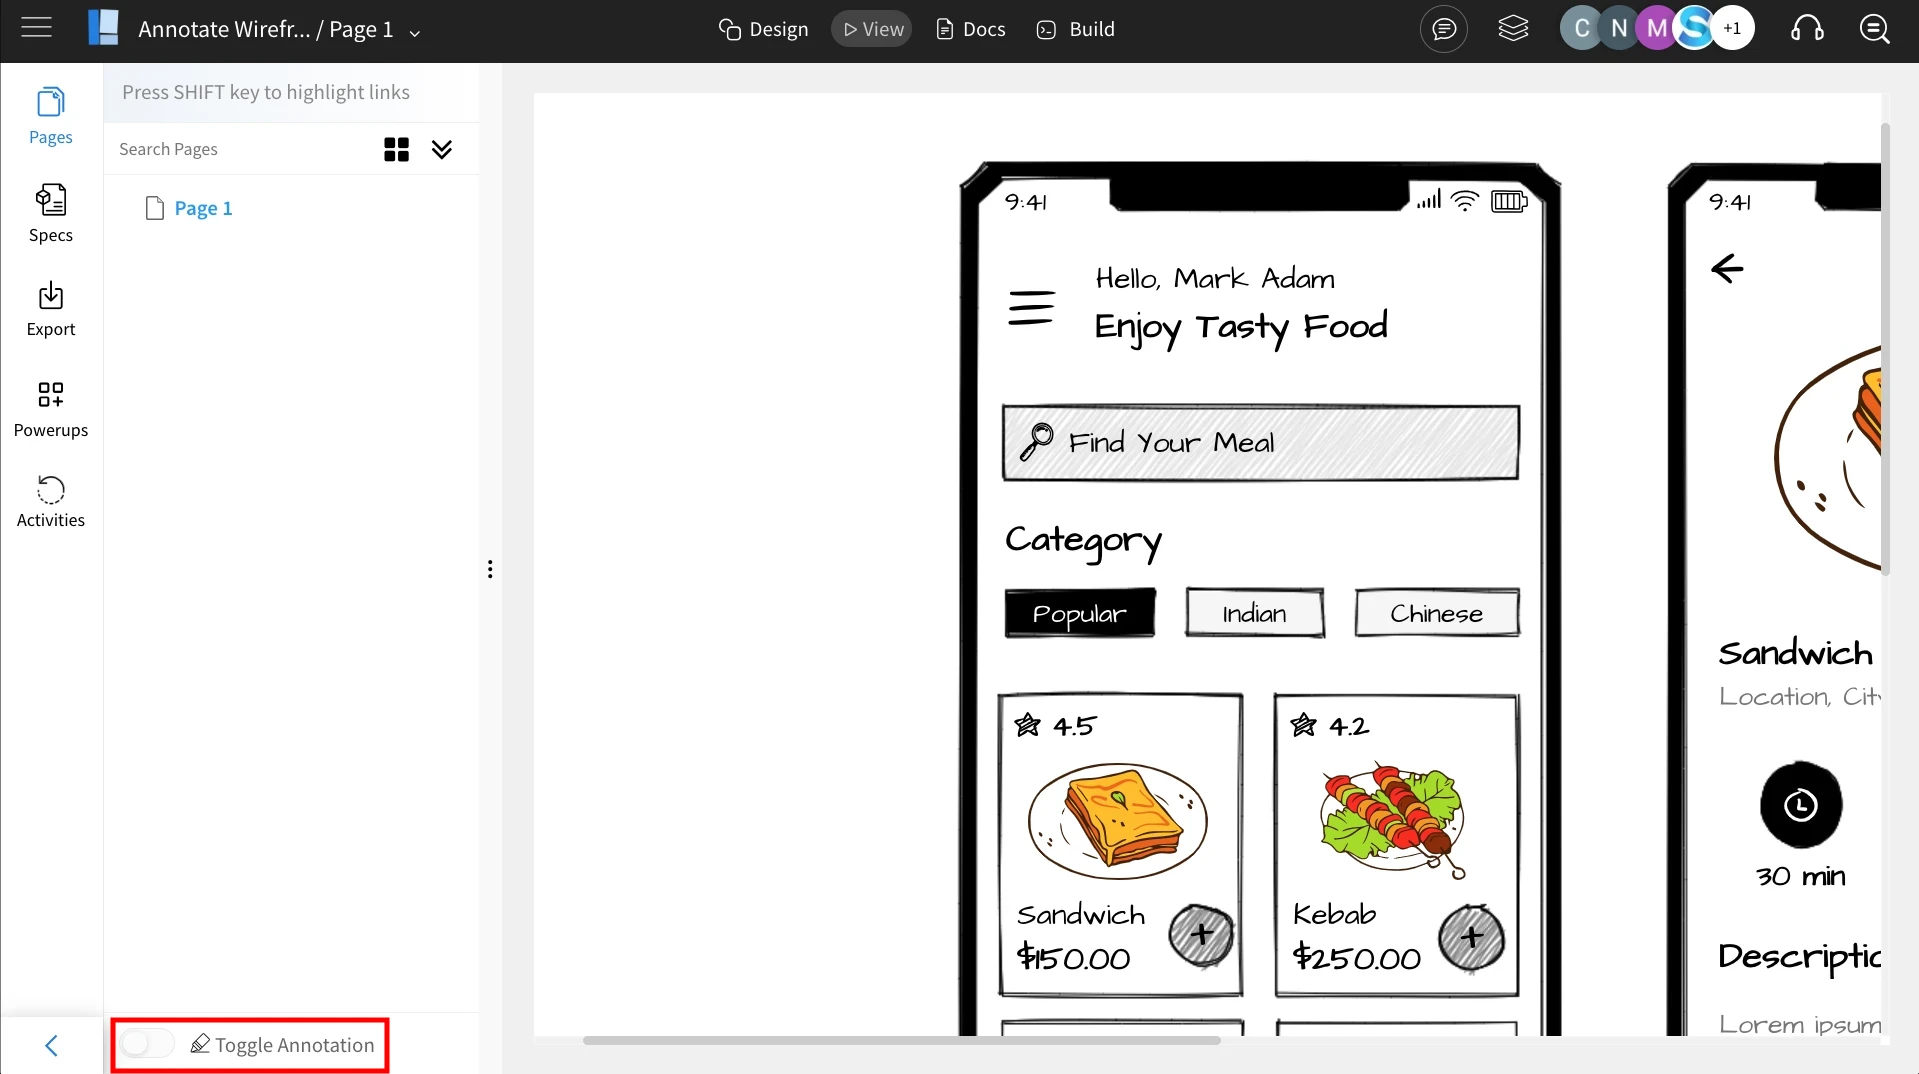
7By default the annotations are visible in the view mode. To turn them off, simply turn off the 'Toggle Annotation' option at the bottom of the left sidebar in the view mode.
8This way, you can easily add and share annotations with your team for streamlined communication.