You can connect the WireframePro MCP Server to Cursor using either the MockFlow Desktop App or the CLI Web MCP.
Method 1: MockFlow Desktop App
1Start by installing and opening the MockFlow Desktop App, then log in with your credentials and create a Wireframe project.
2Next, in claude code run
claude mcp add --transport http -s user mockflow-wireframepro http://localhost:21194/mcp
3Now paste the configuration above into the Claude code and run it.
4Once added, the MCP server will automatically connect to the running Desktop App.
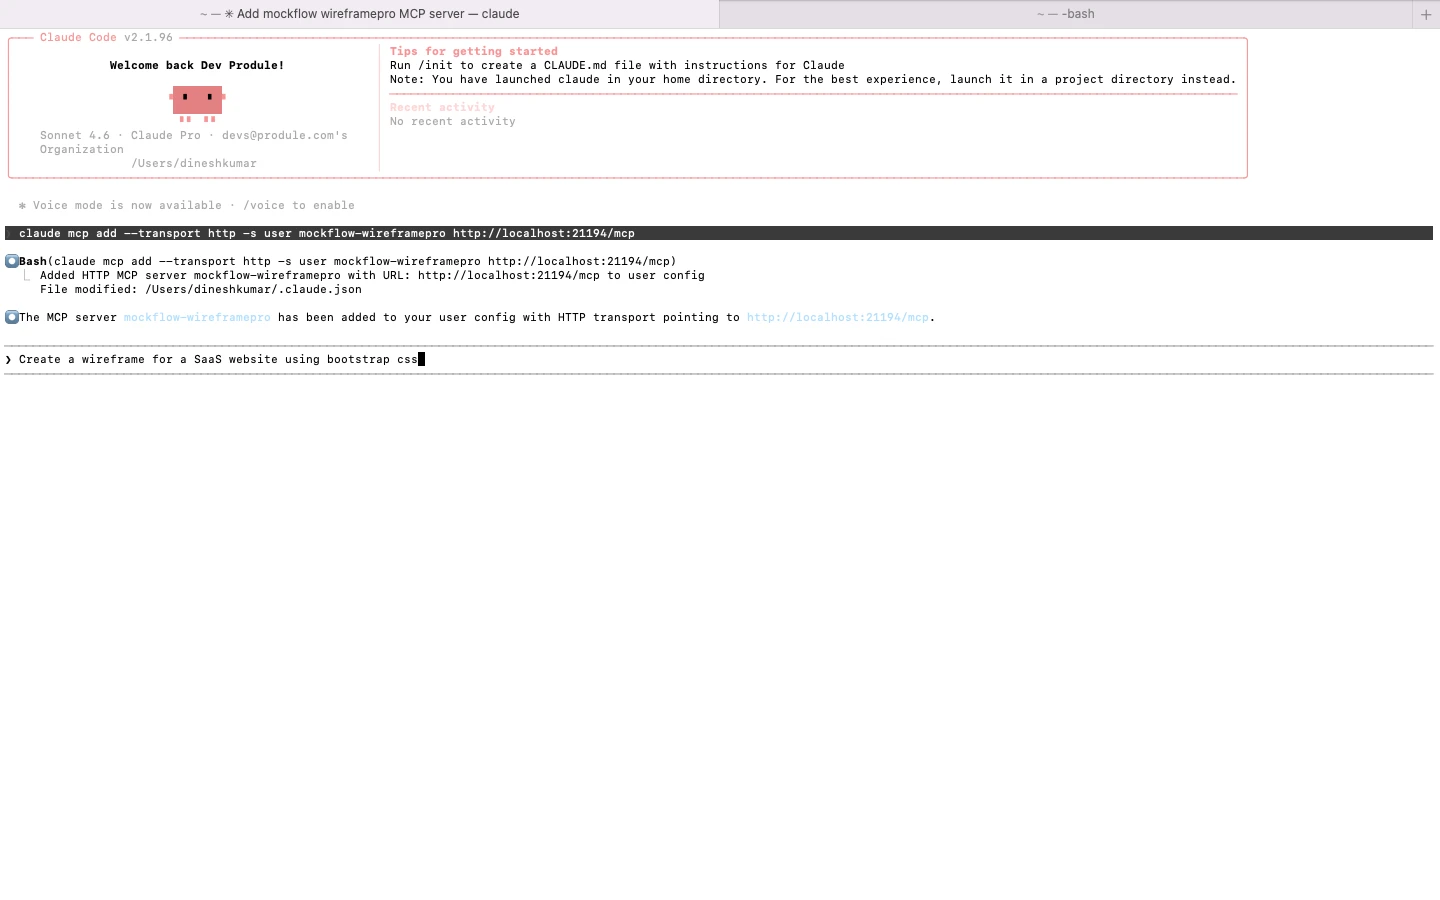
5You can now enter a prompt in Cursor, such as “Create a SaaS website wireframe”, or use read_wireframe to export to code and run it.
6The generated wireframe will instantly appear in your Desktop app WireframePro canvas.

Method 2: CLI Web MCP
1Begin by installing the MCP package globally using npm:
npm install -g @mockflow/wireframepro-mcp
2Then log in and start the MCP server:
mockflow-wireframepro-mcp login
mockflow-wireframepro-mcp
3If you want to work within a specific workspace, you can optionally run:
mockflow-wireframepro-mcp --space=YOUR_SPACE_ID
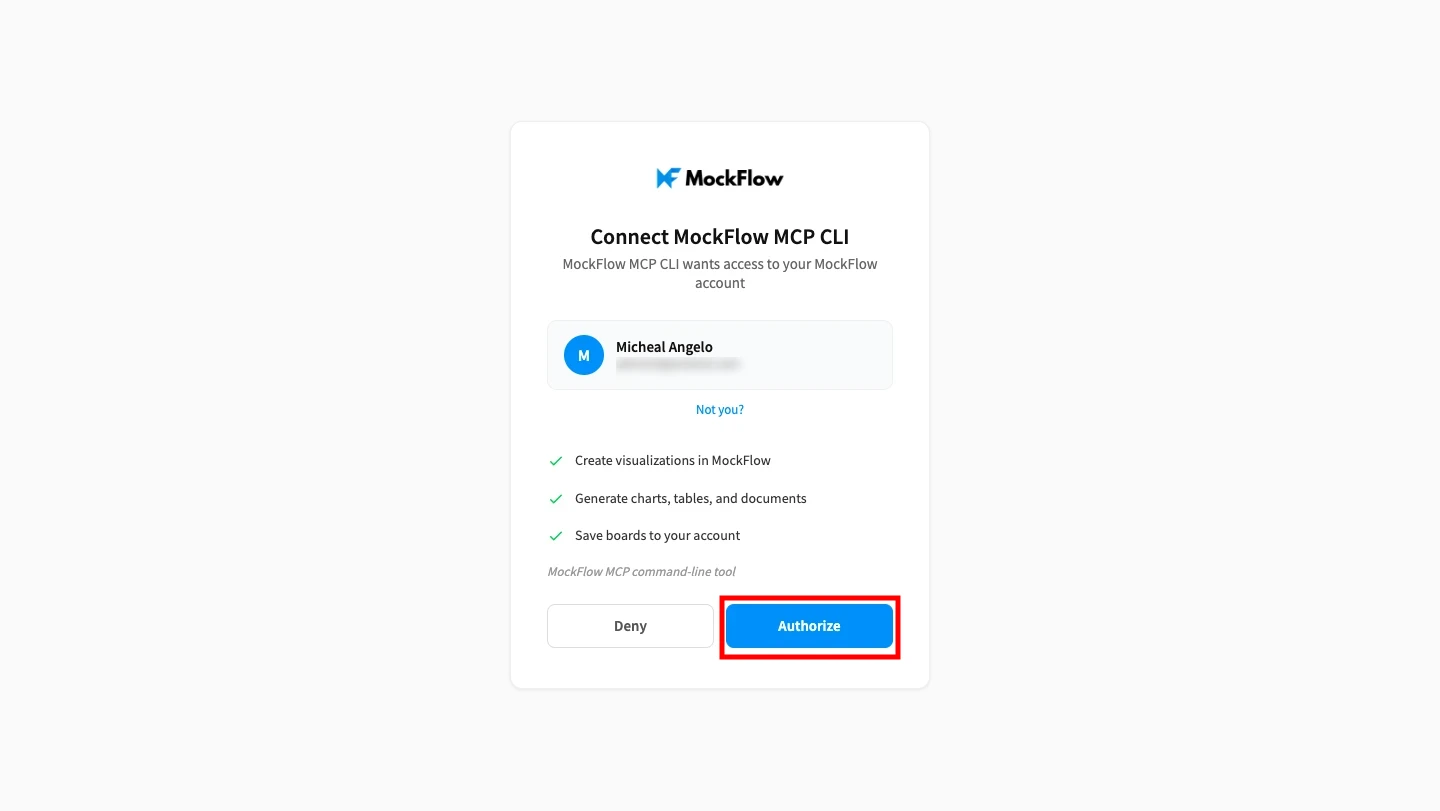
4Next, click 'Authorize' to connect MockFlow CLI with Claude code.
5After npm is installed, paste the same configuration as mentioned and run it in the Claude code.
claude mcp add --transport http -s user mockflow-wireframepro http://localhost:21194/mcp
6Now, enter a prompt like “ Based on my website repo, create a pricing page wireframe using the same styleguide” in Claude Code.
7The MCP server will process your request and generate the wireframe inside MockFlow.


