You can connect the WireframePro MCP Server to Cursor using either the MockFlow Desktop App or the CLI Web MCP.
Method 1: MockFlow Desktop App
1Start by installing and opening the MockFlow Desktop App, then log in with your credentials and create a Wireframe project.
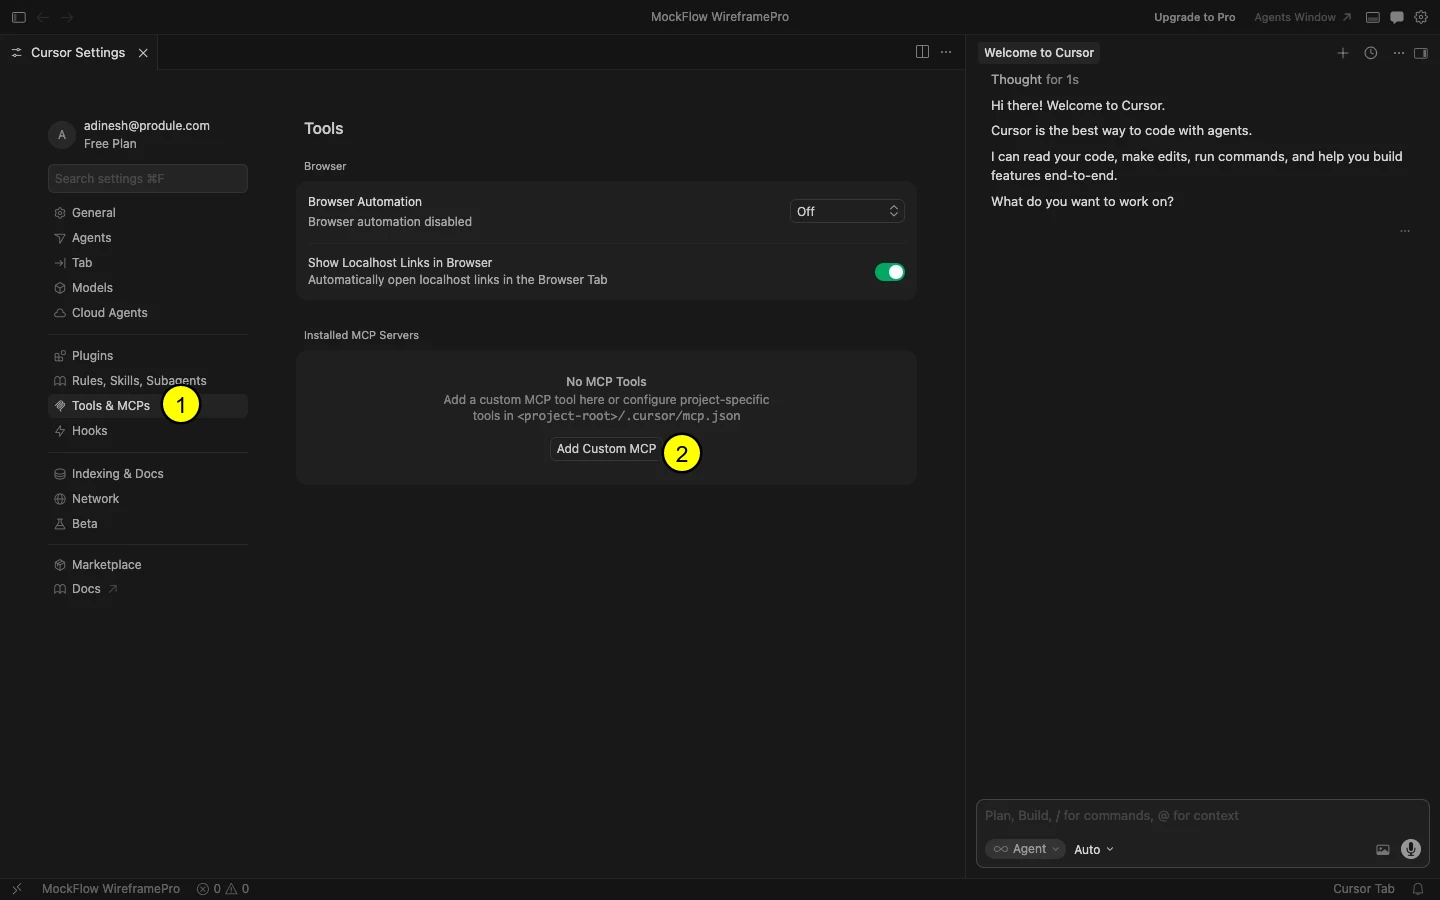
2Next, open Cursor and navigate to Settings → Tools & MCP, then click on Add Custom MCP.

3Now, paste the following configuration and save it.
{
"mcpServers": {
"mockflow-wireframepro": {
"url": "http://localhost:21194/mcp"
}
}
}
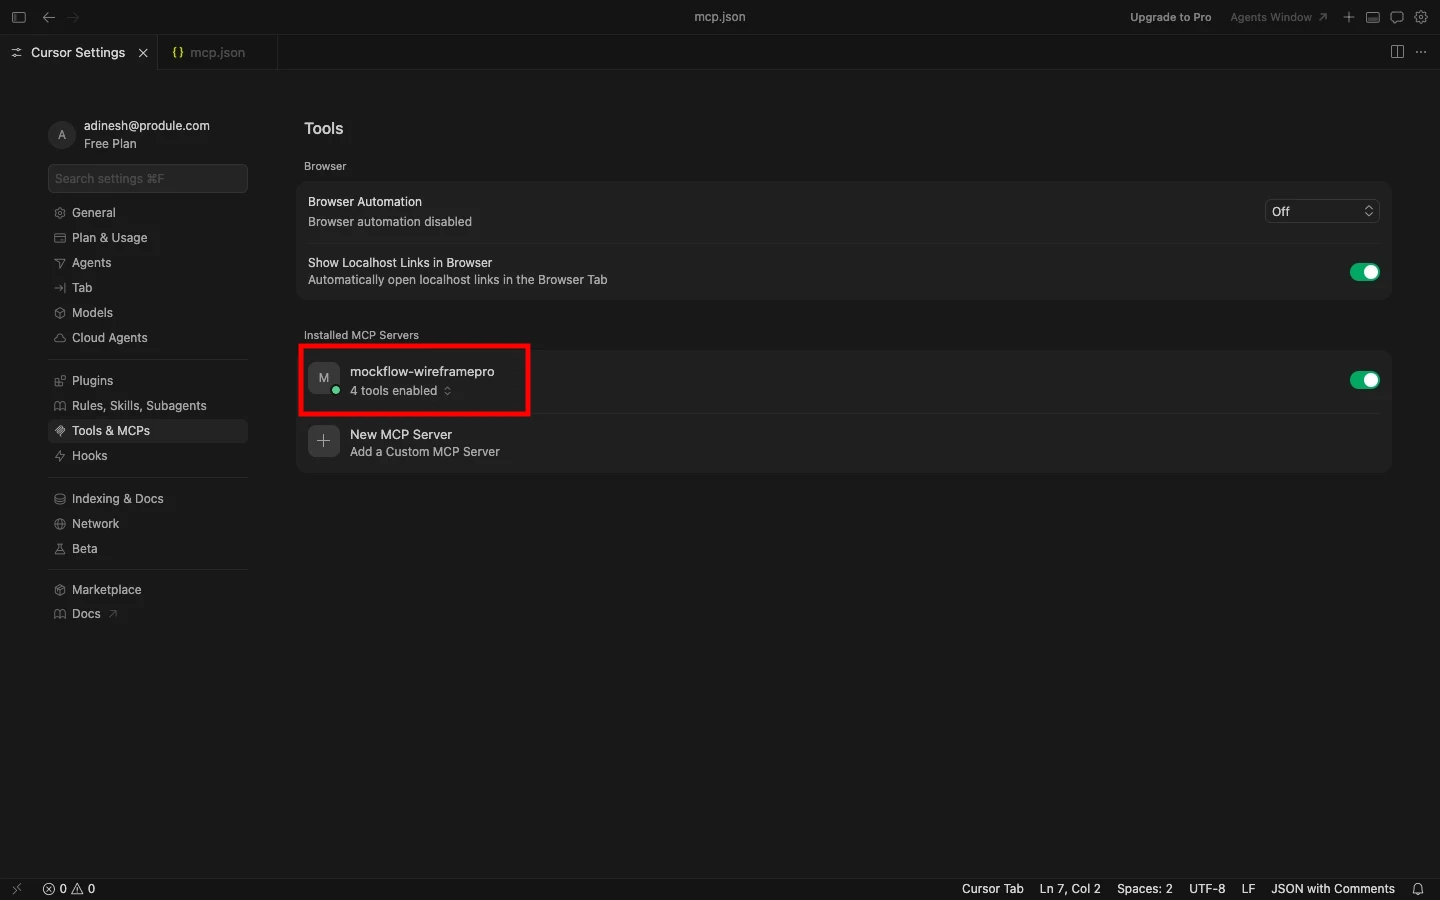
4Once added, the MCP server will automatically connect to the running Desktop App.
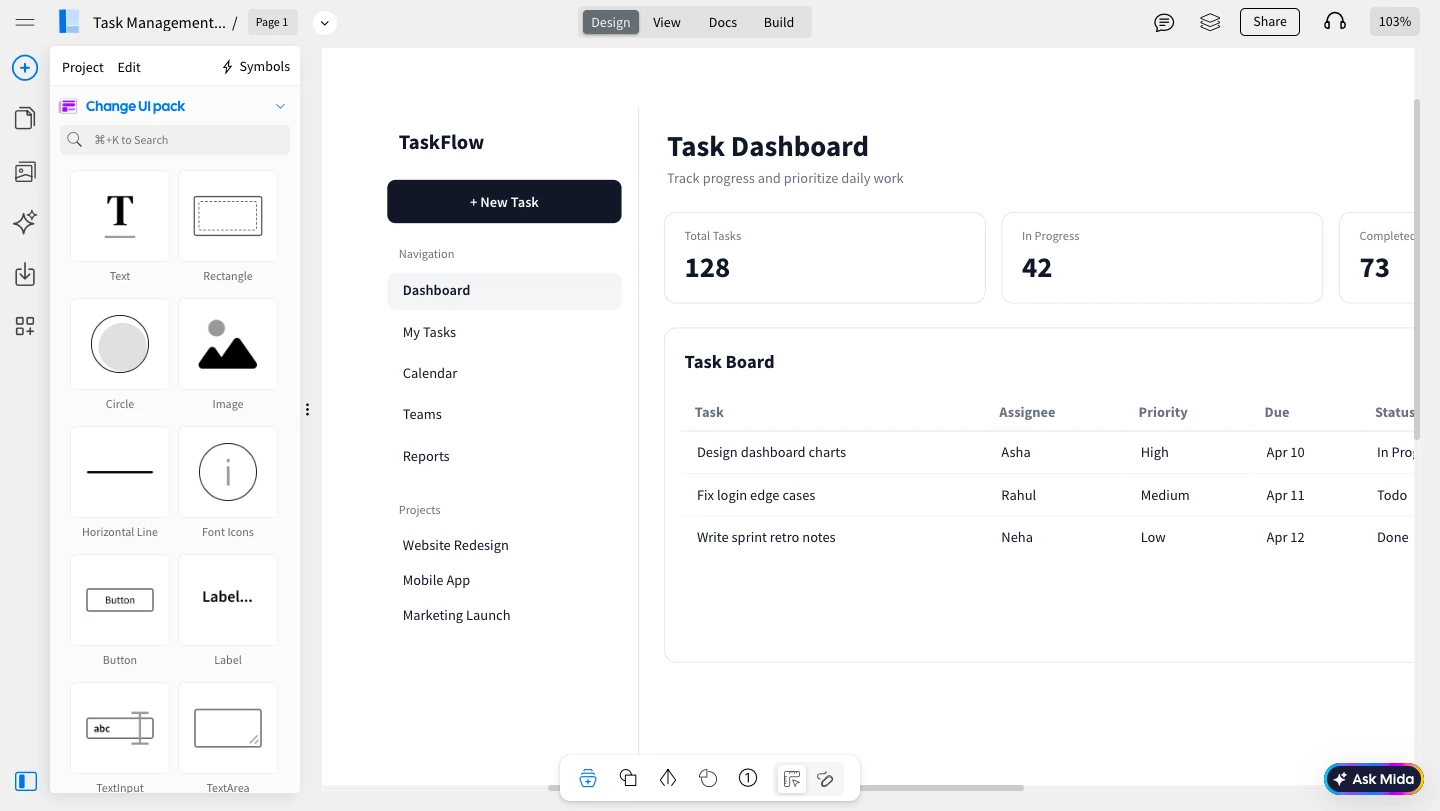
5You can now enter a prompt in Cursor, such as “Create a wireframe for a task management dashboard using Tailwind CSS”, and run it.

6The generated wireframe will instantly appear in your WireframePro canvas.
Method 2: CLI Web MCP
1Begin by installing the MCP package globally using npm:
npm install -g @mockflow/wireframepro-mcp
2Then log in and start the MCP server:
mockflow-wireframepro-mcp login
mockflow-wireframepro-mcp
3If you want to work within a specific workspace, you can optionally run:
mockflow-wireframepro-mcp --space=YOUR_SPACE_ID
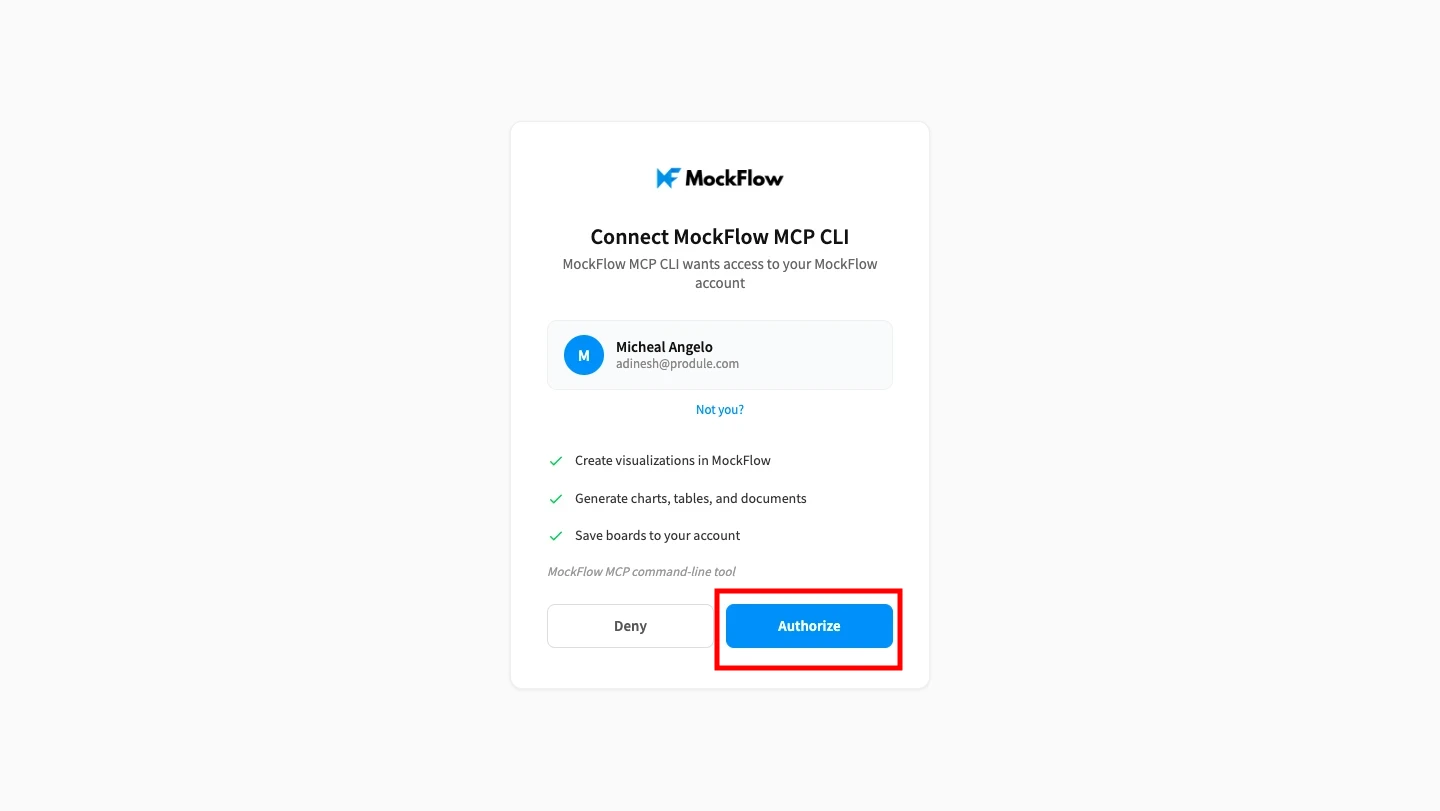
4Next, click on 'Authorize' to connect MockFlow MCP with VS Code.
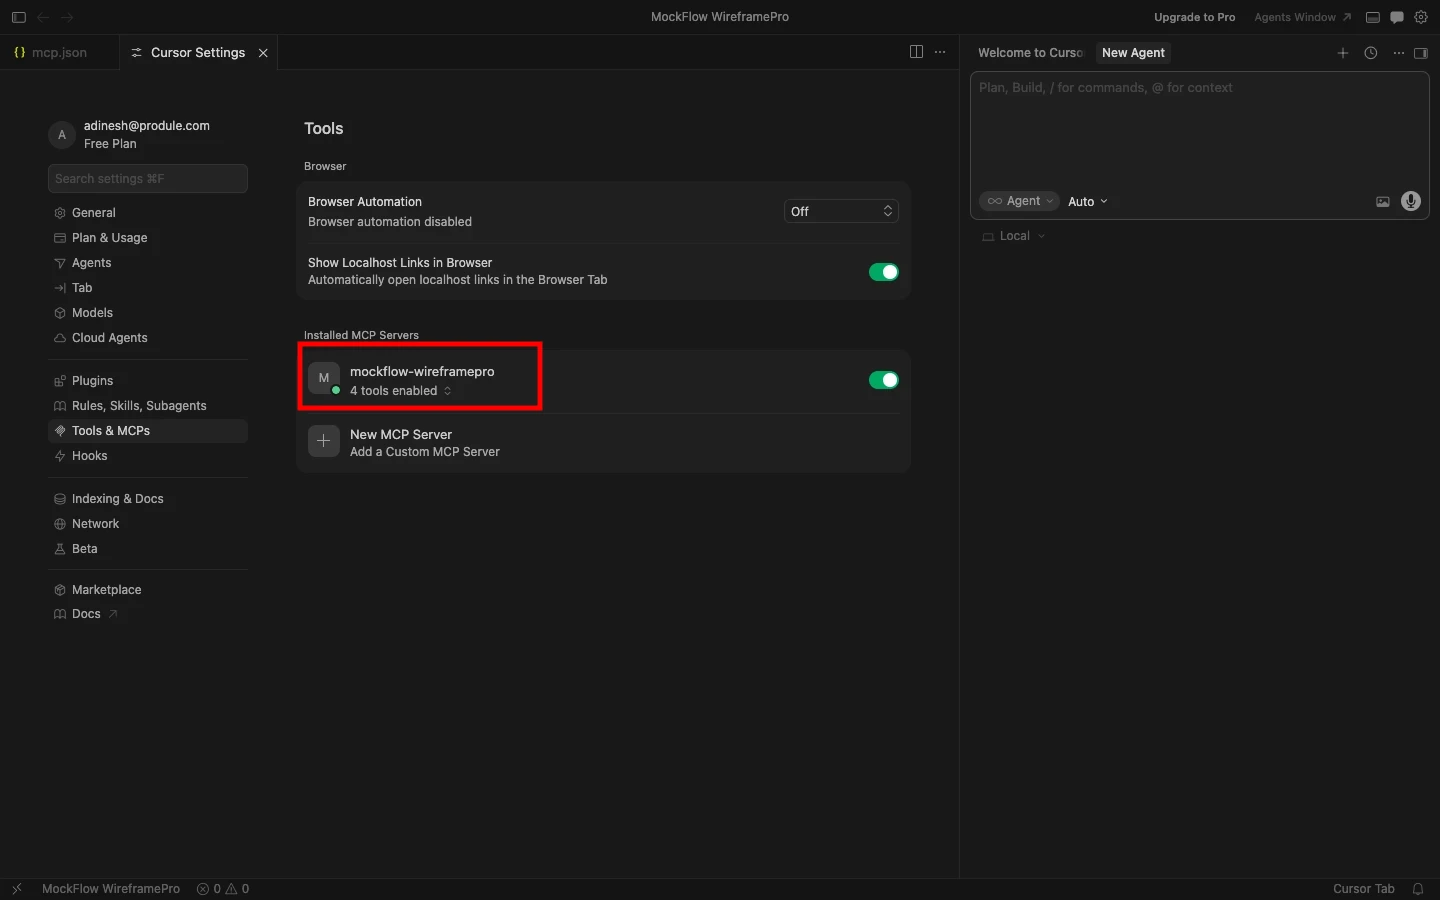
5After the server is running, open Cursor and go to Settings → Tools & MCP, then click Add Custom MCP.
6Paste the same configuration as mentioned in the above method:
{
"mcpServers": {
"mockflow-wireframepro": {
"url": "http://localhost:21194/mcp"
}
}
}
7Save the configuration to complete the setup.
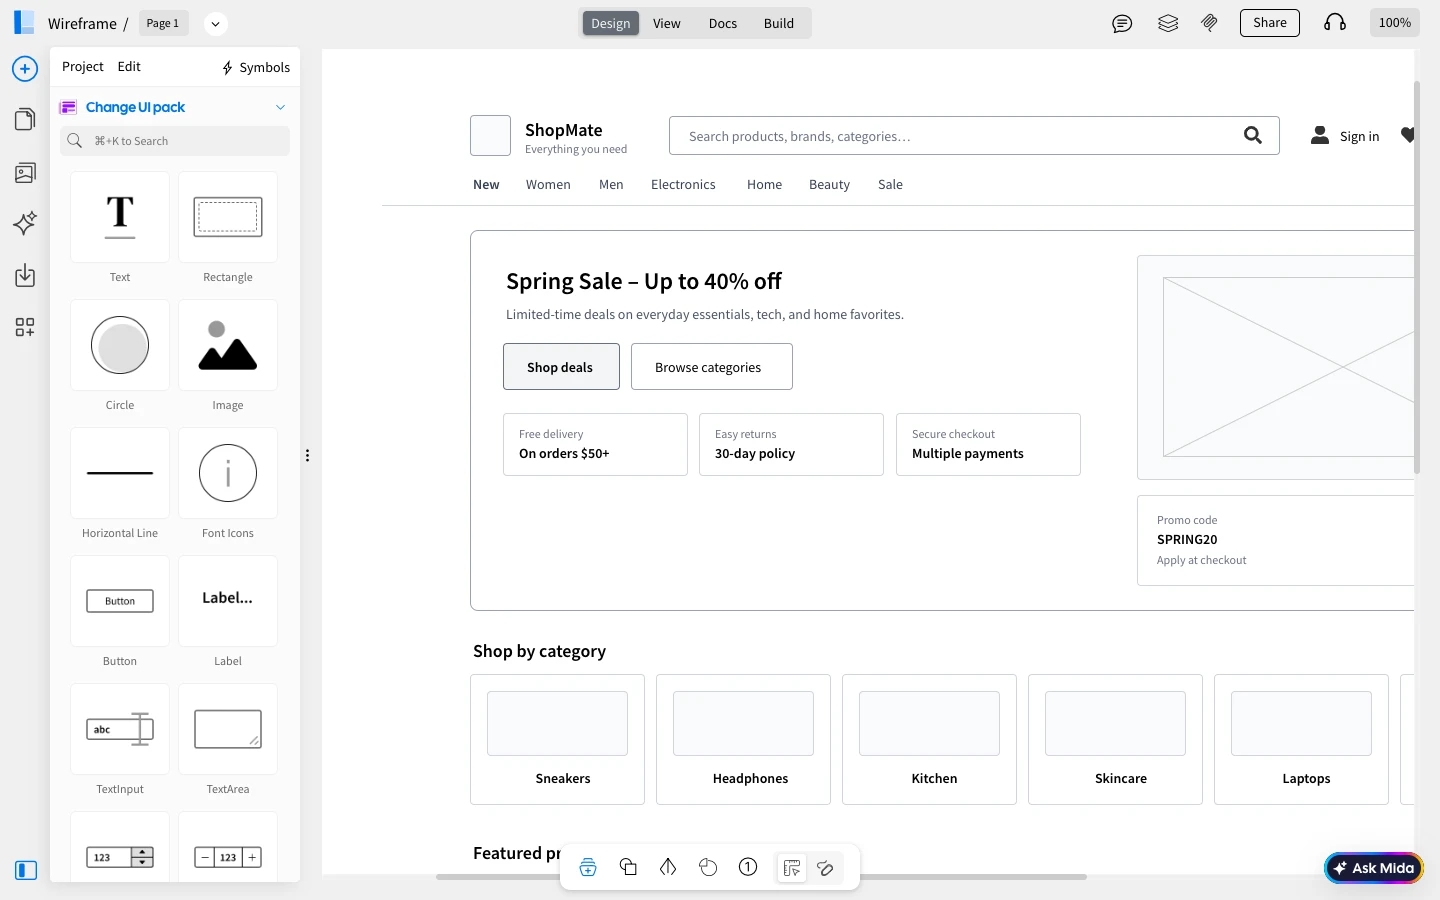
8Now, enter a prompt like “Create an e-commerce website wireframe” in Cursor, and the link will be generated to the WireframePro editor.
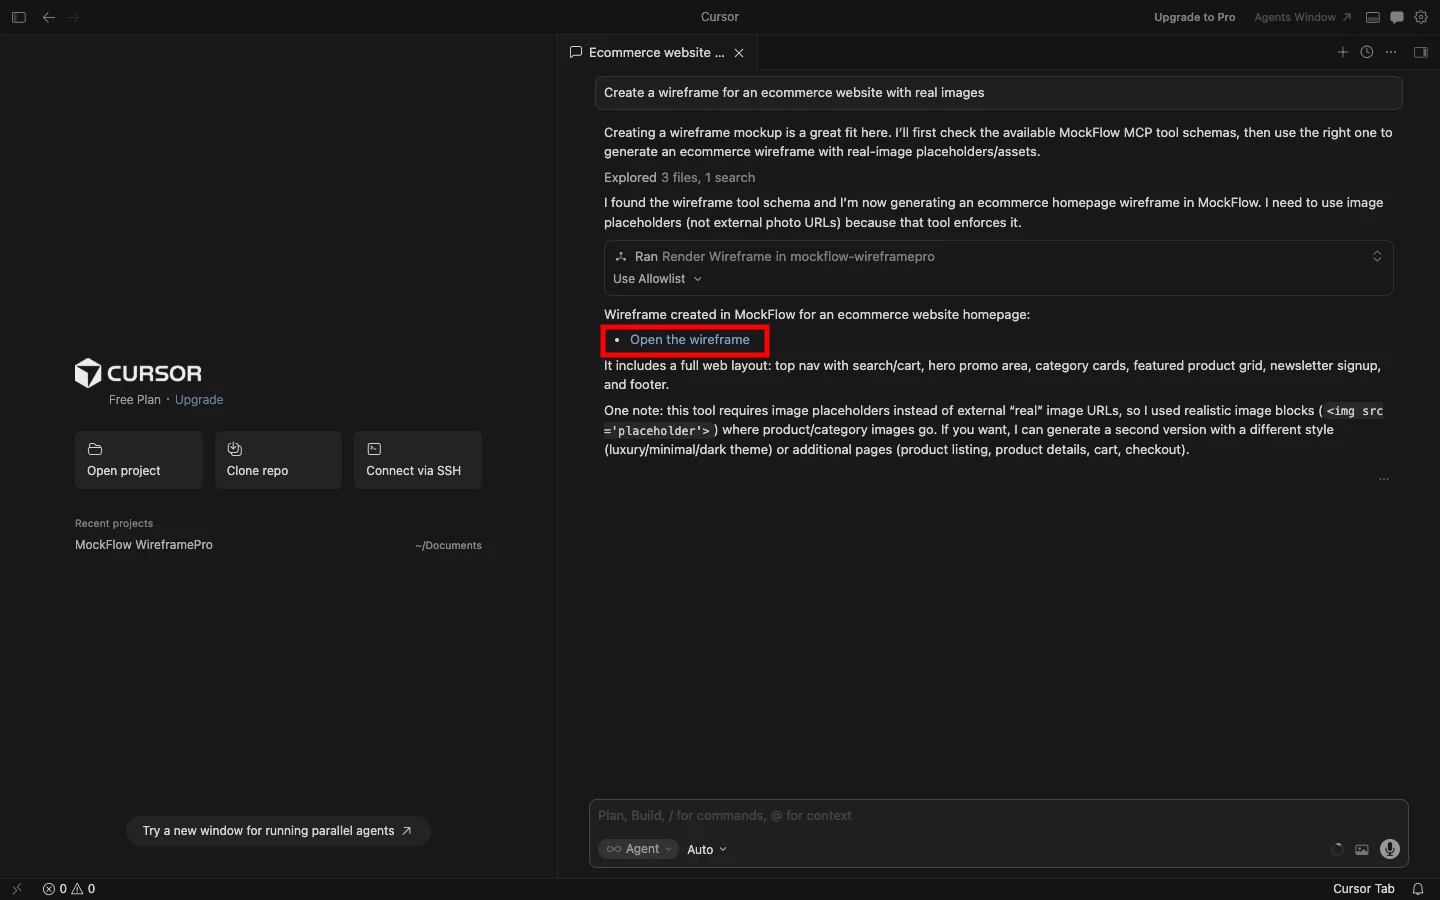
9The MCP server will process your request and generate the wireframe inside MockFlow.